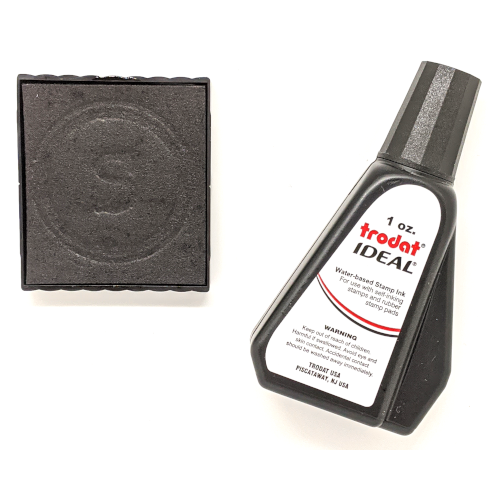
Below, we will explain how to remove the built-in ink pad from your self-inking rubber stamp in order to re-ink it if it has run dry.
To jump down directly to the video, click here: How To Re-ink a Self-inking Rubber Stamp
Instructions
1) Locate the ink pad on your self-inking rubber stamp.
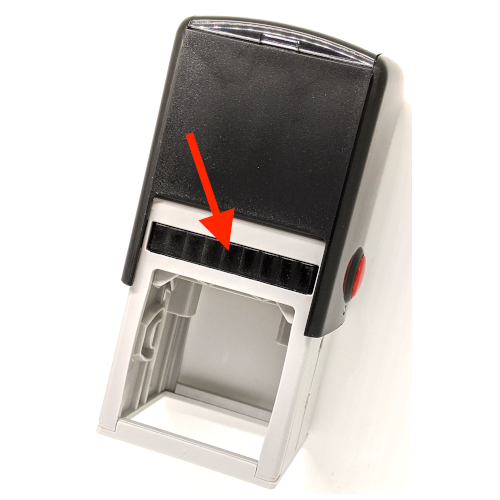
2) Push the stamp up a bit to free up the pad. Your stamp may have a locking mechanism to hold the stamp up in place and if so, press the two buttons (Red buttons in the pictures below) on each side of the stamp to engage the lock. You can then simply push the ink pad out from one side to the other.
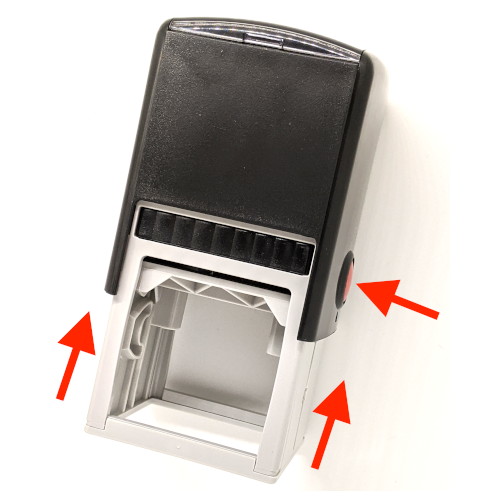
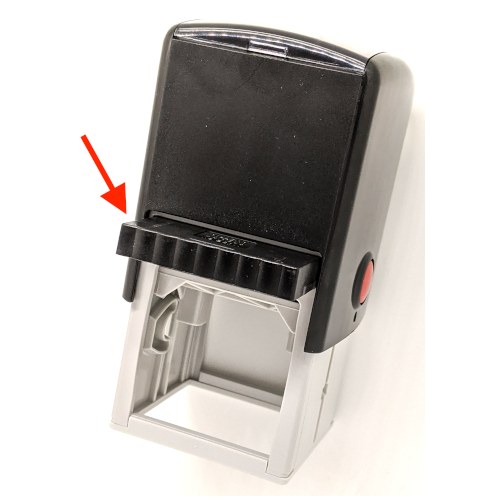
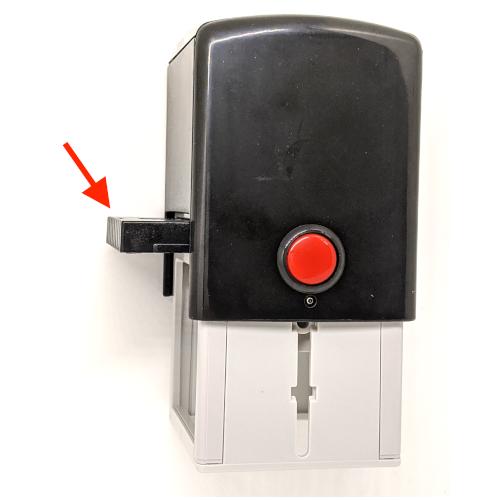
3) Depending on the size of the pad, add as many drops of ink as needed. For example, for a smaller, 0.75” by 0.75” self-inking stamp, 1 to 2 drops of ink should do the trick. On a larger pad, you may use 3 to 4 drops of ink. For this step, you will need an ink vial, which you can buy here: 1oz Ink Vial Refill for Self-inking Rubber Stamps
4) Once you've added the ink, wait a few moments to let it soak into the pad. Once the ink has nicely spread, push the pad back into your stamp. Make sure to have the inked pad facing down when you are putting it back into your stamp! If your stamp has released from its locked position, you may need to push it back up a bit and lock it again, just like you did in step #2 above.
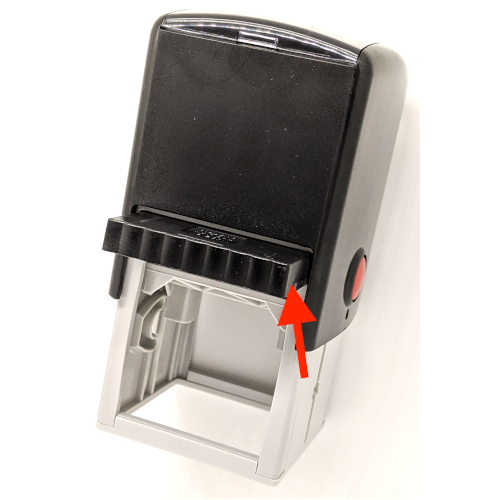
5) To release the stamp from its locked position, push the stamp up even higher and the stamp should snap back to its original position. As the final step, you may want to create a couple of test impressions on scrap paper to fully re-ink your rubber stamp properly!

